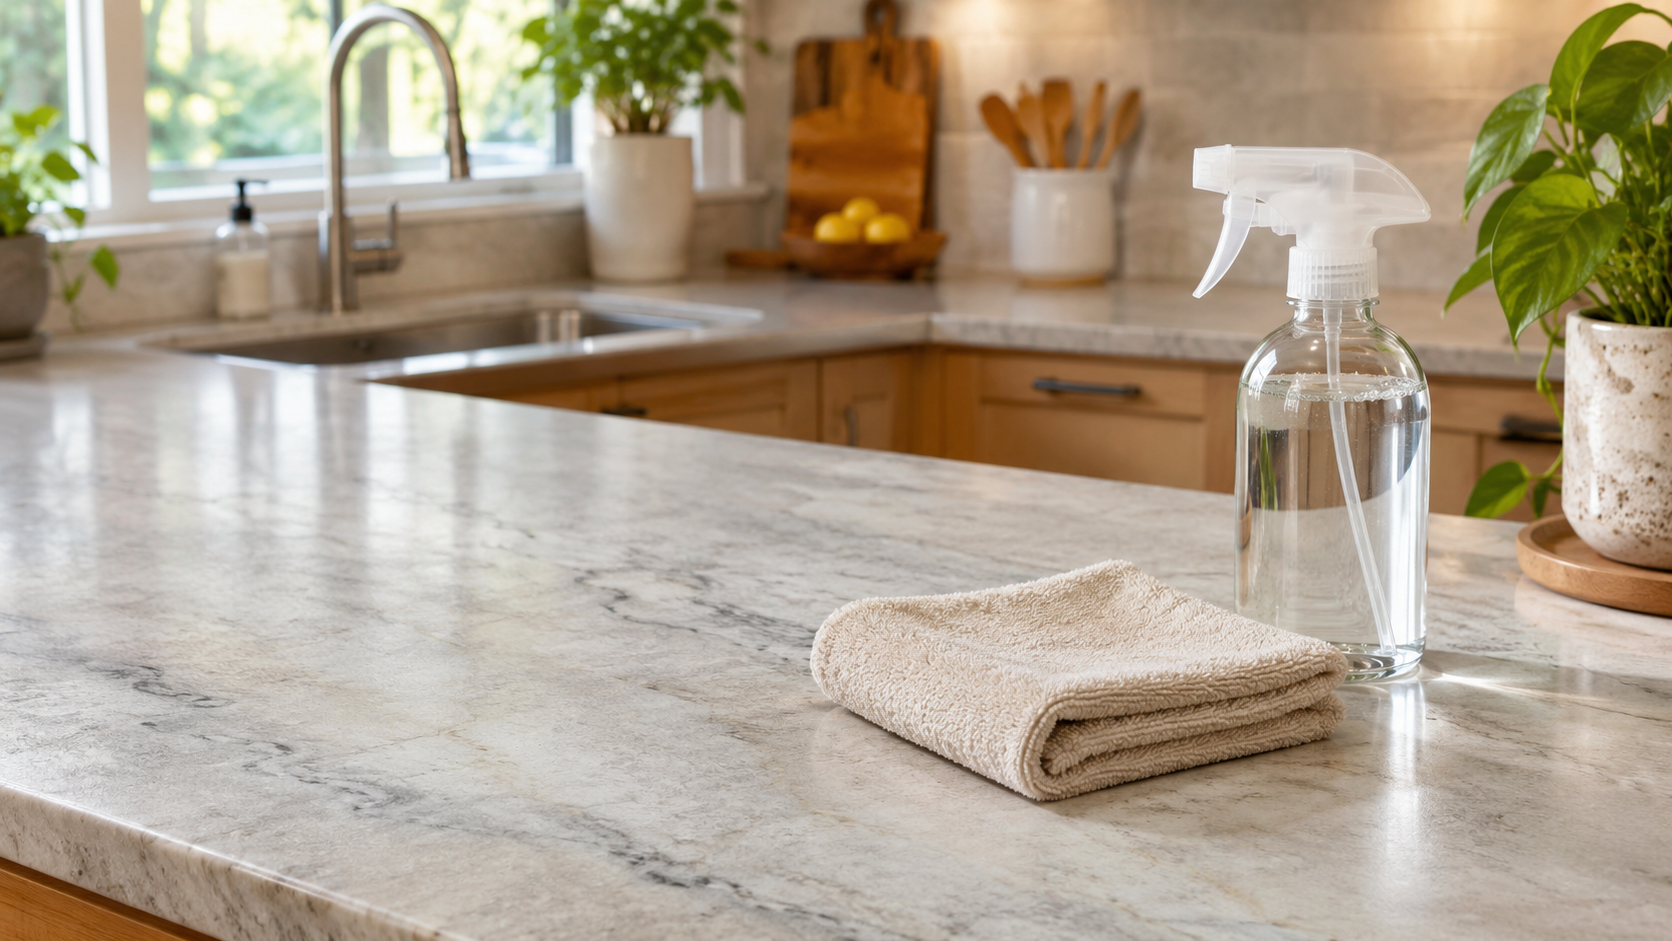
How to Clean Quartzite Countertops Without Damaging Them
Learn how to clean quartzite countertops safely, check whether they need sealing with a simple water drop test, and remove stubborn stains with a baking soda poultice.
Quartzite has a reputation for being nearly bulletproof, and in many ways it is. It's hard, it handles heat well, and it looks stunning. But "tough" doesn't mean "ignore it," and plenty of homeowners learn that the hard way after a well-meaning wipe-down with the wrong spray leaves a dull patch behind.
This guide is for anyone with quartzite in a kitchen, bath, or bar who wants a simple routine that keeps it looking great. We'll cover daily cleaning, how to check whether your counters need sealing, what to keep far away from the stone, and how to handle stubborn stains.
The quick takeaway: wipe with warm water and a pH-neutral stone cleaner, rinse, and dry. Test the surface with a few drops of water to decide when to reseal, and skip acids, bleach, and scouring pads.
Quartzite vs. Quartz: Why the Difference Matters for Cleaning
The names sound alike, but the materials are very different. Quartzite is a natural stone. It forms when sandstone is changed by heat and pressure, and it can have tiny pores that let liquids soak in. Engineered quartz is a manufactured product made from ground quartz and resin, which makes it non-porous and more forgiving of everyday cleaners.
That's the whole reason quartzite care is different. Because it's natural and can be porous, it benefits from a sealer (more on that below) and from gentle, pH-neutral cleaning. (pH is the scale that tells you how acidic or alkaline a product is; neutral sits in the middle.) A cleaner that's fine on a quartz island may not be fine on quartzite.
Natural quartzite
Engineered quartz
What it is
Natural metamorphic stone
Ground quartz bound with resin
Porosity
Can be porous, varies by slab
Non-porous
Sealing
May benefit from an impregnating sealer
Not typically needed
Cleaner choice
pH-neutral stone cleaner or mild soap
More forgiving, but check the maker's guidance
First, Make Sure It's Really Quartzite
Some stones are sold as "soft quartzite" when they're actually marble or dolomitic marble, which is much more sensitive to acids. True quartzite generally doesn't etch from lemon juice, can't be scratched easily with a knife blade, and can scratch glass. If your counters etch or dull easily, ask your fabricator or stone supplier to confirm what you have, and run any tests on a hidden spot.
Tools & Supplies Needed
You don't need much. Here's your checklist:
Two or more soft microfiber cloths, one for cleaning and one for rinsing and drying
Warm water
A pH-neutral stone cleaner labeled safe for natural stone, or a mild dish soap used sparingly
A spray bottle (optional, handy for diluted cleaner)
A non-abrasive sponge (optional)
A soft-bristle brush for seams and edges (optional)
An impregnating stone sealer (only if your counters need it)
Baking soda, plastic wrap, and painter's tape for stain poultices (optional, for tough stains)
Step-by-Step Instructions: Daily Quartzite Care
This routine takes just a few minutes. Do it after cooking or whenever the counter needs a refresh.
Step 1: Clear Crumbs and Spills
Brush away crumbs with a dry microfiber cloth first. This keeps grit from being dragged across the surface later. If there's a fresh spill, blot it with a paper towel instead of wiping, since wiping spreads it.
Step 2: Wipe With a pH-Neutral Cleaner
Mix a drop or two of mild soap into warm water, or use a pH-neutral stone cleaner according to its label. Dampen a soft cloth, wring it out, and wipe the counter. Use the least soap you can get away with, because too much leaves a film that can make polished stone look cloudy.
Step 3: Rinse With Clean Water
This is the step most people skip. Go over the surface with a separate cloth dampened with plain water to pick up soap residue. If your counters tend to look streaky, this is usually the fix.
Step 4: Dry Completely
Finish with a clean, dry microfiber cloth. Drying prevents water spots and mineral deposits, especially around the sink and faucet if you have hard water. It also keeps standing water from lingering on areas where the sealer is worn.
Step 5: Run the Water Drop Test
This simple check tells you whether your counters are still resisting moisture. Try it on a clean, dry, high-use area (and a hidden spot if you prefer):
Place a few drops, up to about a tablespoon, of water on the surface.
Watch for two to three minutes.
If the water beads up and the stone stays the same color, your protection is still working.
If the water soaks in and the stone darkens, it's absorbing moisture and may be ready for resealing.
Wipe the water away when you're done, and don't leave puddles sitting. Test once or twice a year and after any aggressive cleaning. Darkening around the sink is another clue worth watching.
Step 6: Reseal Only When Needed
Sealing doesn't make stone stain-proof. It makes it more stain-resistant, buying you time to wipe up a spill. And not every quartzite needs it. Some slabs are dense enough that sealing isn't required, while more porous varieties benefit from it.
If the water drop test says it's time:
Clean the surface with a pH-neutral cleaner and let it dry completely.
Choose an impregnating (penetrating) stone sealer that's labeled safe for food-prep areas. Your fabricator or the sealer manufacturer can point you to the right one.
Apply it exactly as the label directs, including how long it should sit.
Wipe off all excess before it dries. Leftover sealer can leave a hazy or sticky film.
Wait for it to cure for the time on the label before heavy use.
For new installations, ask your fabricator when the initial sealing should happen and whether cut edges, such as sink cutouts, have been treated.
Pro tip: You'll see advice to reseal "every year" or "every 1 to 2 years." Sources disagree, and the honest answer is that it depends on your slab, your sealer, and how hard your kitchen works. The safer move is to let the water drop test, not the calendar, make the call. Sealing too often can leave residue, so more isn't better.
What Never to Use / Safety Warnings
This is where most damage happens. Keep these away from your quartzite:
Vinegar, lemon juice, and citrus or acidic cleaners. Some guidance says true quartzite resists these, but acids can wear down sealer and may harm trace minerals in the stone. Since you can't always be sure what's in your particular slab, skip them.
Bleach and ammonia. Natural stone groups and surface suppliers advise caution with these, and they can weaken sealers. Never mix bleach and ammonia. The combination creates a toxic gas.
Generic all-purpose sprays and window cleaners. Many contain acids or ammonia and aren't labeled for natural stone. If the bottle doesn't say it's stone-safe, leave it on the shelf.
Scouring powders, steel wool, and rough scrubbing pads. They can scratch or dull the finish.
Rust removers and some bathroom cleaners. Some contain hydrofluoric acid, which attacks silicates and can damage all stones, including granite and quartzite.
"Natural" is not the same as "stone-safe." Plant-based or multi-surface labels don't guarantee a product is gentle on stone.
When in doubt, test any new product on a hidden spot first.
Practical Tips, Care & Common Mistakes
A few habits go a long way:
Wipe spills promptly, especially oil, wine, coffee, and juice.
Use coasters, trivets, and cutting boards. Quartzite handles heat well, but trivets are still recommended. And because the stone is so hard, a cutting board also protects your knives from dulling.
Keep a dedicated cloth by the sink so daily wipe-downs actually happen.
Dry the area around the faucet to cut down on mineral buildup.
Don't over-soap. A film attracts dirt and dulls the shine.
Common mistakes to avoid:
Treating quartzite exactly like engineered quartz
Scrubbing hard at a mark instead of identifying it first
Resealing on autopilot and leaving haze behind
Letting a cleaner or disinfectant pool in one spot
Disinfecting note: If you want to sanitize, choose a disinfectant labeled for natural stone, and follow its label for contact time. Some sources mention diluted hydrogen peroxide or 70% isopropyl alcohol as options, but guidance varies, so test a hidden area first and rinse and dry afterward. Don't soak the surface.
Troubleshooting & Stain Removal
The key to removing a stain is figuring out what caused it. Oil darkens stone, organic stains like coffee or wine can leave a pinkish-brown mark, and metal stains from rust or copper can look orange, brown, or green. Treat it as soon as you spot it.
How to Make a Baking Soda Poultice for Oil Stains
A poultice is a paste that sits on a stain and draws it out of the stone as it dries. For a stubborn oil stain:
Clean and dry the area, then blot any surface oil.
Mix baking soda with water until it forms a thick paste, about the consistency of peanut butter.
Spread it about 1/4 inch (6 mm) thick over the stain, extending slightly past the edges.
Cover with plastic wrap and tape the edges down.
Let it sit undisturbed for 24 to 48 hours, until the paste is dry. Don't scrape it off early.
Remove the wrap, wipe the residue away with a damp cloth, rinse, and dry.
Repeat if needed. Stubborn stains can take two or three rounds.
Once the area is fully dry, run the water drop test on that spot. If it darkens, consider resealing it.
Heads up: Some stone-care sources use solvents like acetone for oil stains. These are stronger and need good ventilation, so test a hidden spot first, and ask a stone professional if you're unsure.
Organic Stains (Coffee, Tea, Wine, Juice)
Blot, then clean with mild soap and water. If a mark remains, the baking soda and water poultice above is a gentle next step. If it's still there after a few rounds, a stone-care professional can recommend a stone-specific product.
Hard Water Spots and Cloudy Areas
Mineral buildup around the sink and faucet can look like a stubborn haze. Use a soft cloth and a pH-neutral stone cleaner, buff gently, and dry thoroughly. Avoid acid-based calcium removers and abrasive scrubbers, which can damage the finish.
Dark Areas Around the Sink
Repeated water exposure can darken the stone near the sink. Dry the area, run the water drop test, and look at the seams and edges too. If the stone is absorbing water, resealing may help.
Dull Spots or Etch Marks
If a mark doesn't lift with normal cleaning, stop scrubbing. It may be etching or finish damage, not a stain, and another cleaner won't fix it. This is also a good moment to confirm your stone is truly quartzite and not a marble look-alike.
Rust Stains
Metal stains need a poultice, and deep-set rust can be very hard to remove. Most commercial rust removers contain acids, so use only products clearly labeled safe for natural stone.
When to Call a Professional
Bring in a stone restoration pro or your fabricator if:
A stain hasn't budged after two or three poultice attempts
You see etching, dull patches, or a hazy finish that won't clear
You're not sure what your stone is or which sealer to use
Rust or metal stains are deep-set
You notice water absorbing along seams or around sink cutouts
Conclusion
Quartzite doesn't ask for much: warm water, a pH-neutral stone cleaner, a soft cloth, and a quick dry-off. Stay away from acids, bleach, ammonia, and abrasives, and you'll avoid most of the damage people run into.
Let the water drop test tell you when to reseal, treat stains quickly with a gentle poultice, and call a pro when a mark won't budge. A few minutes of consistent care keeps natural stone looking its best.
Written & Reviewed by the Home Kitchen Guides Editorial Team
Our guides combine manufacturer technical specifications, food safety standards, and practical kitchen research to help you make confident decisions at home. Read our editorial standards.
Affiliate Disclosure: Home Kitchen Guides may earn a commission from qualifying purchases made through links on this page at no extra cost to you. Learn more.
Keep reading
Related Kitchen Guides
Explore more practical kitchen guides and cooking tips.
Compare undermount vs drop-in kitchen sinks: countertop compatibility (laminate vs quartz and granite), installation trade-offs, hidden costs, cleaning, and who each style suits.
The all-white kitchen is losing its lead for the first time in years. This 2026 buying guide covers warm wood cabinets, sage green, natural stone, and layered lighting replacing it.
Shopping for kitchen supplies at thrift stores can save money and reduce waste. Discover what to look for, what to avoid, and how to check secondhand kitchenware before buying.